

Widgets in Service Now Service Portal - Part 1
In this Series I teach you how to make widgets for the ServiceNow Service Portal. This is part 1 - Introduction and set up

Jump to a section:
- Part 1 - Introduction and set up
- Part 2 - Widget Content and Server Communication (Coming soon)
Building custom widgets and portal pages in ServiceNow is something I've become accustomed to; however, it seems like a somewhat niche skillset that many, whilst not lacking the technical ability to do such a thing, lack the knowledge of how Service Portal pages and widgets are structured and how they communicate.
In this series, I am hoping to cover some basics of building widgets for the Service Portal, hopefully giving you enough knowledge to go off and create your own custom builds.
I will be demoing this capability within the San Diego release of ServiceNow (the latest available demo box that I could source). I will be using the new ServiceNow Polaris interface in most cases for screen shots, however the steps should be similar if not the same for UI-16 with the filter navigator in a different location.
Setup
First things first, let's set up a framework:
- Two test widgets that we can use to practice inter-widget communications.
- A test page that we can use to test out our widgets on.
Test Widgets
Go to Filter Navigator -> Service Portal -> Widgets
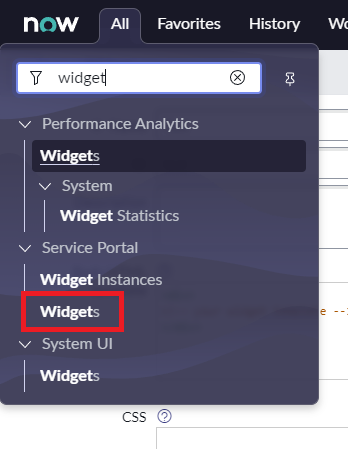
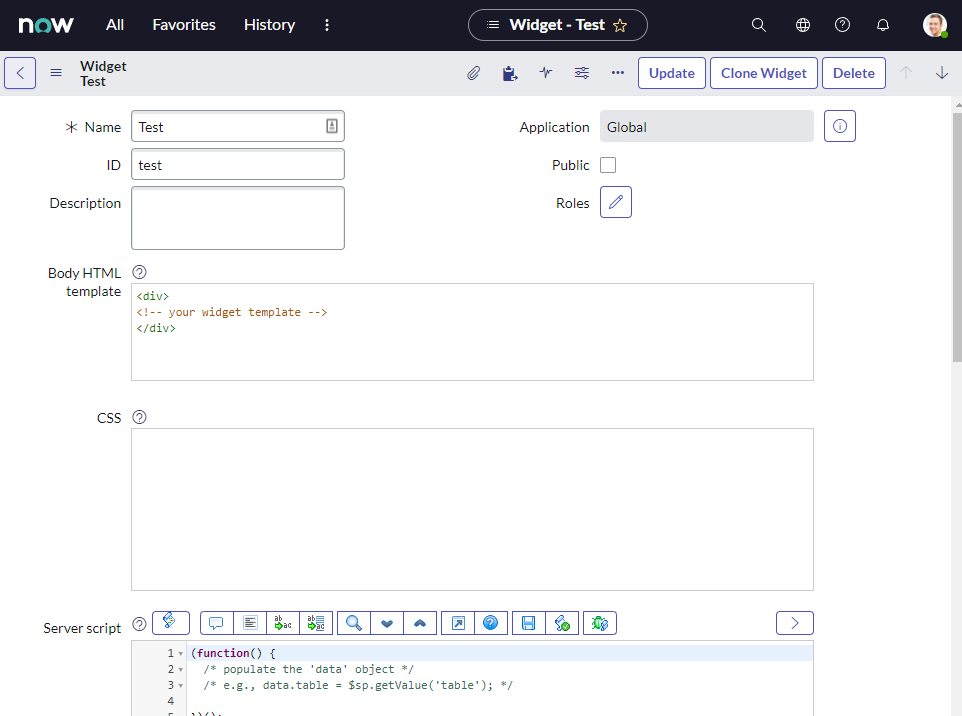
Click "New" in the list view, which will send you to the following page, fill out just the title for now and hit save, do this twice so that you have 2 blank widget templates, don't worry, we will come back to these later. (I went with Test and Test2).
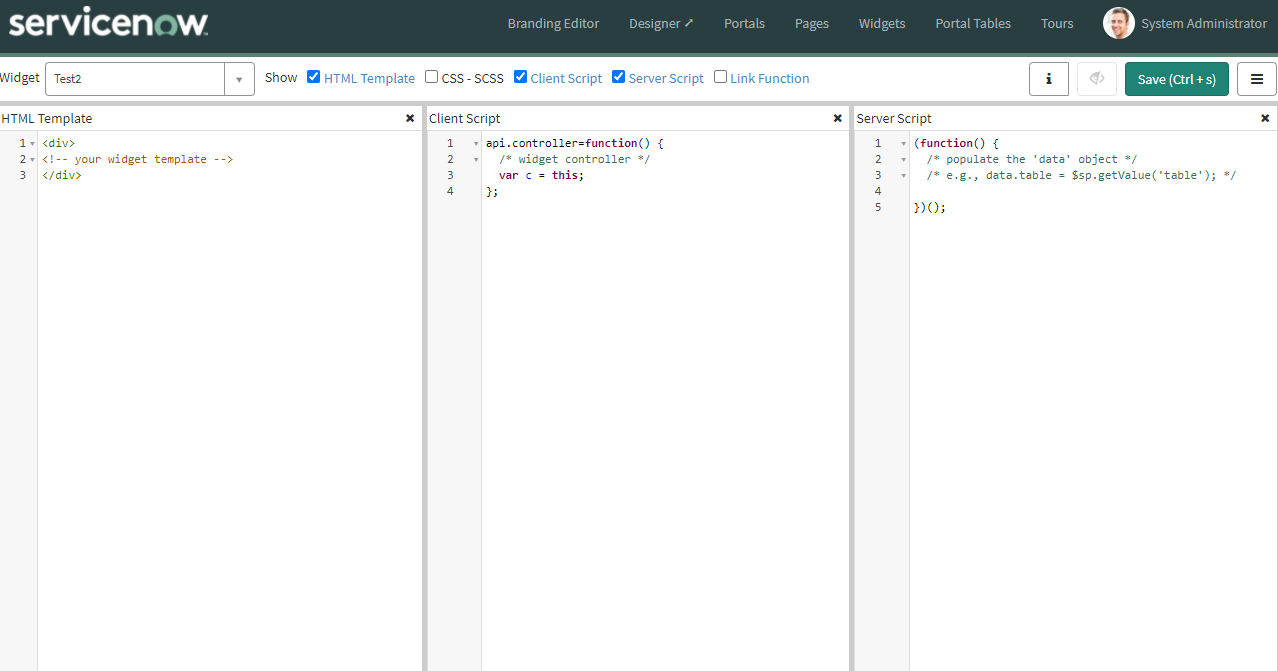
Now I still like to use the old designer for the widgets, as it's what I'm familiar with and also all the script windows are side by side instead of vertically stacked, so if you want to play along at home click "Open in Designer" in the Related Links section.
Test Page
Go to Filter Navigator -> Service Portal -> Pages
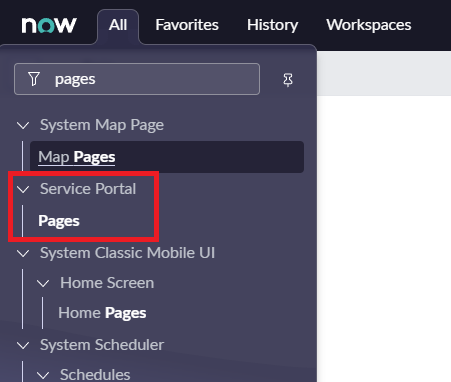
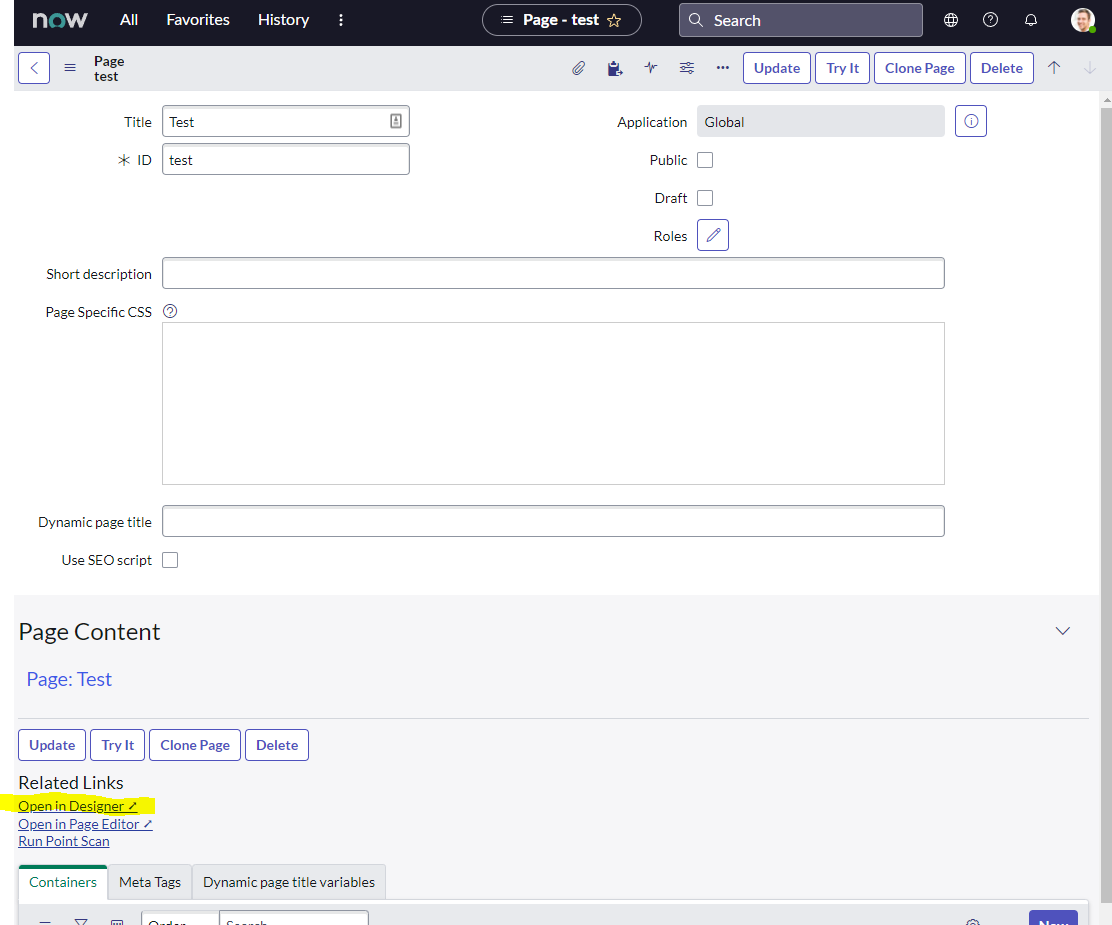
Click "New" in the list view, which will send you to the following page, fill out details as appropriate, noting the "ID" field, this is how you will navigate to your test page later on.
Once again, I like to use the old designer, as it's what I'm familiar with, so if you want to play along at home click "Open in Designer" in the Related Links section.
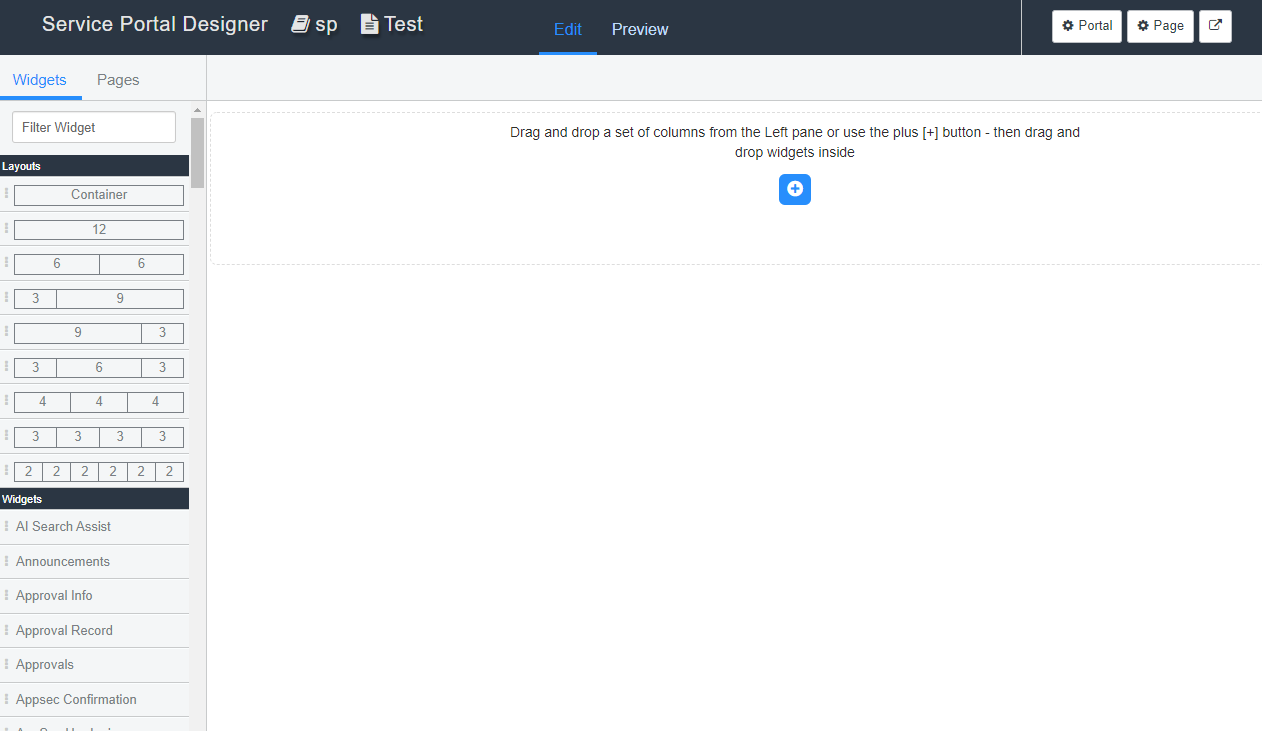
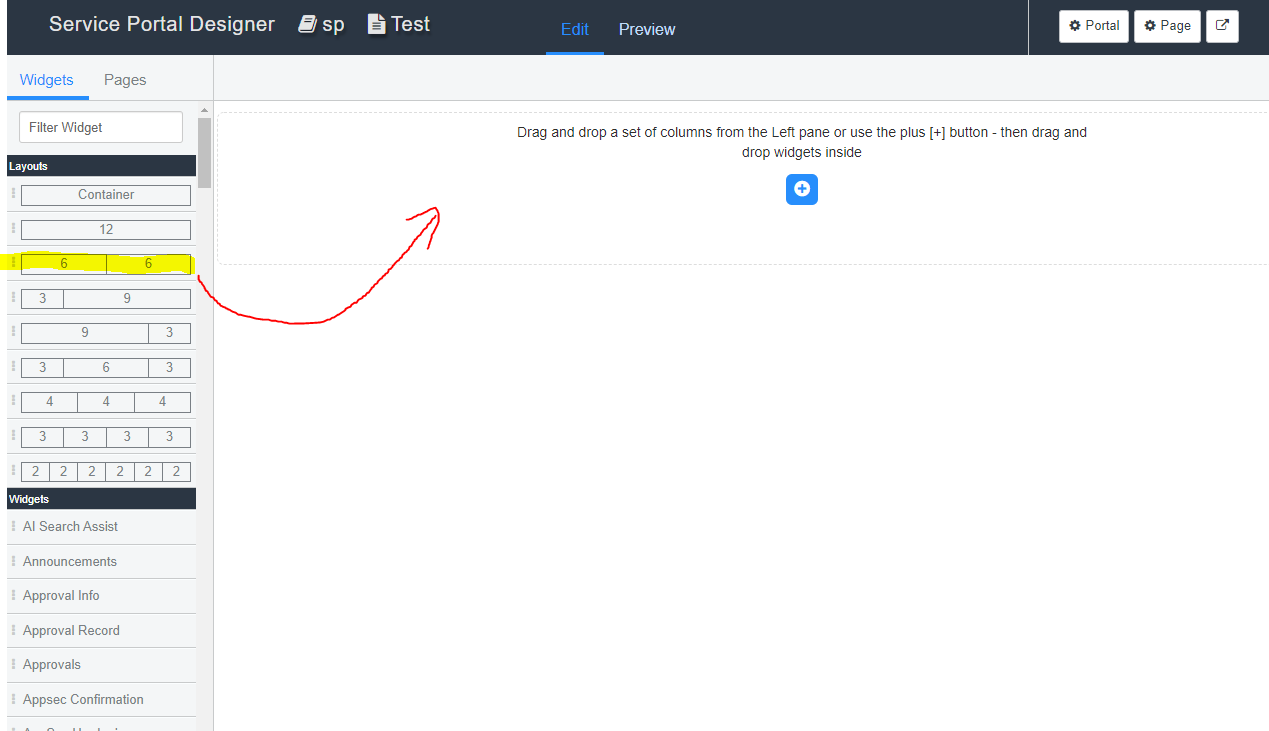
Next, drag a 6+6 container onto the page, we are just going to run both widgets side by side.
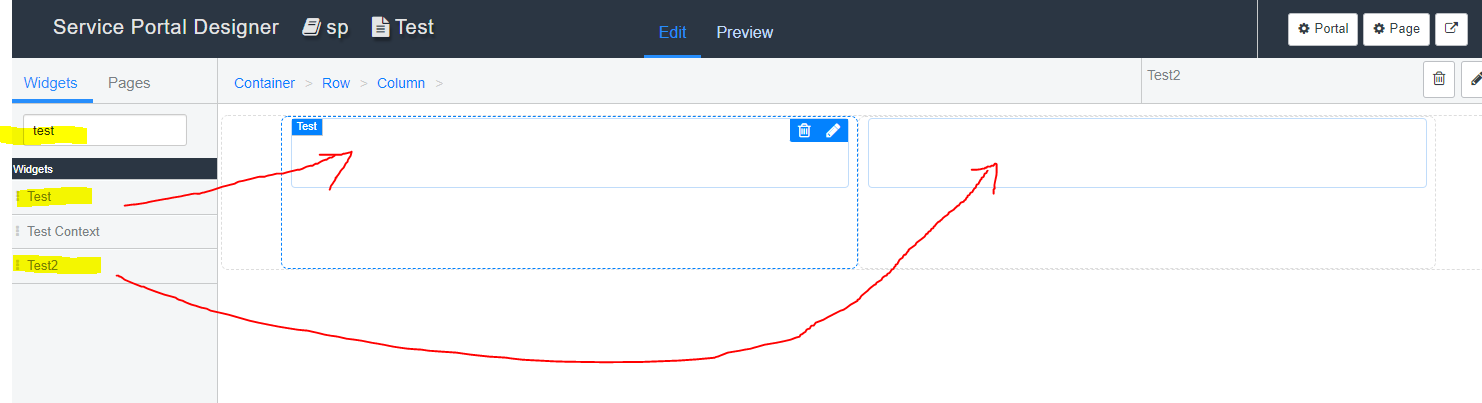
Now search for your test widgets and drag one onto each side. At this point your basic page set up is complete.
And you can now click this button in the top right to open and view your page.

(Also accessible at https://devxxxxxx.service-now.com/sp/?id=test , where "test" is the id of your page)
This will present you with a blank page, but this is now where the fun begins! Keep this page open and as we make changes to the widgets, we can refresh this page to see them.
Next, we will move on to putting some basic content in the widgets and practicing pulling data from the Server into the display. Follow the link below.
Click here to continue to Part 2 (Coming soon)


Comments ()